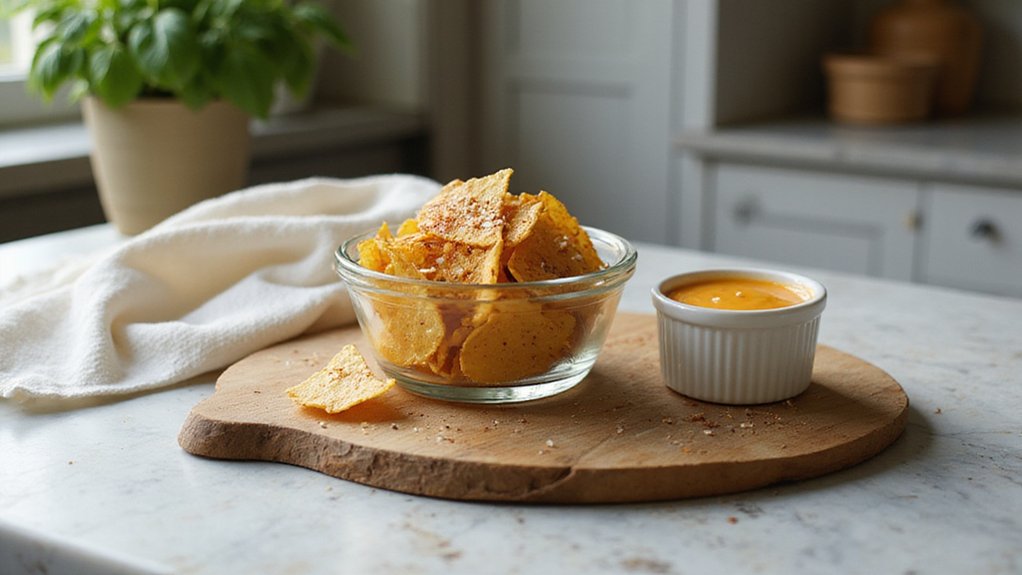
How to Make Nacho Chips: Quick & Easy Method
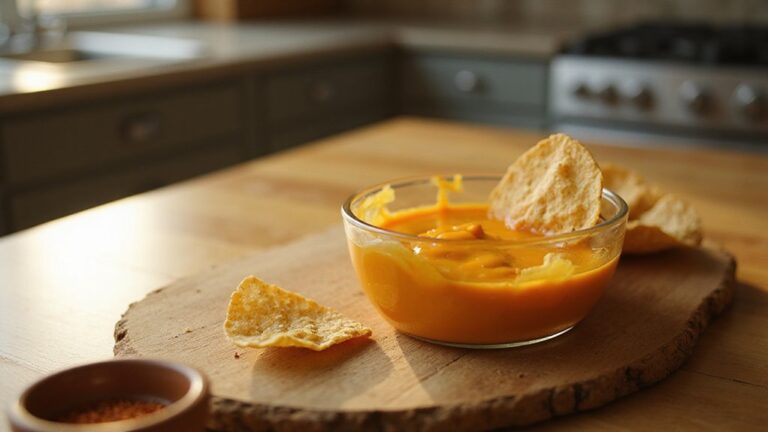
Want to make crispy, homemade nacho chips fast? The good news is you can do it with just a few simple steps using store-bought corn tortillas.
In under 20 minutes, you’ll have tasty chips ready for your favorite dips or toppings. Keep reading for everything you need to know to perfect your own batch at home.
Why Homemade Nacho Chips Are Better Than Store-Bought
Homemade nacho chips are better than store-bought because they offer a superior fresh texture and allow you to control flavor. Baking them right before serving ensures a crisp crunch that pre-packaged chips often lose over time. Seasoning immediately after baking, rather than during processing, results in a bolder, cleaner corn taste in every bite.
You also gain health benefits by making your own chips. Baking instead of frying reduces the calorie and fat content—expect around 120 calories and 5 grams of fat per serving compared to about 150 calories and 9 grams in fried options. You can significantly lower sodium levels by skipping the added salt and preservatives found in store-bought versions. Ingredient flexibility is another advantage: you can choose whole-grain tortillas, opt for lighter oils, and avoid adding sugar. Choosing a high-quality fryer oil for baking can further enhance the texture and flavor of your chips. For a similar appliance-based approach, consider using a popcorn maker to prepare other crunchy snacks, as top-rated models deliver consistent heat for crisp results. Customizing shapes and spice levels lets you tailor your nacho chips to any load, and portion control becomes easier, helping you avoid wasting a large bag that might go unused. Overall, making your own chips lets you snack smarter with fresher flavor, healthier ingredients, and more control over every aspect.
What You’ll Need: Simple Ingredients and Tools
To make homemade nacho chips, you’ll need just a handful of simple ingredients and tools. Start with corn tortillas—white or yellow ones work best—and cut them into triangles or strips, depending on your preference. For frying, use a neutral oil like vegetable or avocado oil to achieve a crispy texture. Season your chips with fine sea salt or popcorn salt; the finer grains stick better and enhance flavor. If you want to make chips from scratch, substitute store-bought tortillas with masa harina, flour, and water. Mix the ingredients into a dough, roll it out, and cut into desired shapes before frying or baking. For tools, a large pot or cast-iron skillet is ideal for frying, while tongs or a spider strainer helps lift chips out of the hot oil safely. Prepare paper towel-lined plates for draining excess oil. A thermometer is useful for maintaining even oil temperature—aim for around 350°F (175°C)—to prevent burning or undercooking. For even heating, consider using a best popcorn kettle to maintain consistent oil temperature during frying. To store, let the chips cool completely before placing them in an airtight container at room temperature. They stay crisp for up to three days. Avoid stacking warm chips to prevent sogginess and ensure they remain crunchy. For consistent results across batches, a machine with precise temperature control can help you achieve that same golden crunch every time.
Cut Tortillas Into Perfect Triangles in Seconds
Cut stacked tortillas into perfect triangles quickly, aim for three tortillas per stack. Use a sharp pizza cutter or chef’s knife to slice through the entire stack with steady pressure—don’t saw to avoid ragged edges. First, cut the stack in half, then again in half to create four equal wedges. For smaller chips, slice each quarter once more for a total of eight triangles. Keep your fingers clear of the blade and stabilize the stack with your non-dominant hand to ensure safe, uniform cuts. Immediately separate the triangles after slicing to prevent sticking, and handle each piece gently to maintain clean edges. For consistent results, maintain a steady temperature in your prep area so the tortillas stay pliable and don’t crack during cutting. This method guarantees evenly sized wedges that will bake uniformly. Using paper bags for storing the cut chips helps keep them crisp and ready for serving.
Bake Crispy Nacho Chips Without Frying
To bake crispy nacho chips without frying, set your oven to 375°F and bake the cut triangles for 8 to 12 minutes. This temperature ensures even browning and a crunchy texture without burning or overcooking. Keeping an eye on them is key—start checking around the 8-minute mark to prevent burning.
Arrange the chips in a single layer on a lined baking tray, avoiding overlapping which can trap steam and soften the chips. Lightly coat them with olive or avocado oil to promote even crisping. Sprinkle salt beforehand for better adhesion, or add flavorings like cumin and lime zest for extra zest. For larger batches, a commercial concession stand machine can streamline the process. Similarly, using a high-quality cake mix can simplify creating other crispy treats.
Rotate the baking sheet halfway through the baking process to ensure uniform doneness. When the chips turn lightly golden, remove them from the oven. They will continue to firm up as they cool on a wire rack. Once cooled, store the chips in an airtight container for several days, and re-crisp them briefly in the oven if needed before serving. For a more efficient cooking setup, consider that an 8 oz machine offers optimal batch sizes for similar crunchy snacks.
Fry Homemade Nacho Chips for Extra Crunch
Frying your homemade nacho chips is the best way to achieve an extra-crunchy texture. Heat a high-heat oil like vegetable or canola to 350°F-375°F in a deep skillet for optimal control. Cut your slightly dry corn tortillas into uniform triangles to ensure even cooking. Fry small, single-layer batches to prevent overcrowding, flipping the chips once the edges turn brown. Total frying time usually ranges from 1 to 4 minutes, during which gentle bubbling will indicate crisping. Season the hot chips immediately with fine salt, which sticks well to their surface. Use a slotted spoon to remove the chips and drain them on paper towels. This method results in a noticeably crisper chip compared to baking. Similar to an oil-less fryer, maintaining a consistent 350°F target temperature is crucial to prevent burning or undercooking. For a party presentation, consider using a vintage swing-away ice crusher to finely crush ice for cold drink accompaniments. The same principle of even heat and careful timing applies to quality countertop ice cream makers, which also prioritize uniform temperature for optimal texture.
How to Tell When Your Chips Are Done (No Burning)
To tell when your chips are done without burning them, look for visual cues like color and texture. The edges should be a light or dark golden brown; pale edges indicate they need more time in the oven. If the chips look wet or glossy, they’re not ready yet. Slight curling at the edges is a good sign they’re finished.
Typically, baking takes between 8 and 15 minutes. Darker pans can speed up the process, so start checking around 8 minutes. As they near readiness, check every minute because they can go from perfect to burnt quickly. Once out of the oven, let a chip cool for a moment—it should snap cleanly when broken. If it bends or feels soft, it needs more baking. Keep in mind, chips will continue to crisp as they cool, so it’s best to remove them when they are just slightly flexible for optimal crunch. For a large batch, maintaining proper serving temperature in a chafing dish prevents sogginess and ensures the chips stay crisp. If you prefer a simpler approach, a manual shaker method can create a similar crisp texture without specialized equipment. Unlike these chips, soft pretzels may pose health risks for dogs due to high salt content.
6 Seasoning Ideas to Elevate Your Nacho Chips
To elevate your nacho chips with seasonings, start with a basic salt dusting from a distance, which creates a clean, flavorful foundation. For a traditional taco-inspired taste, mix chili powder, cumin, smoked paprika, garlic powder, onion powder, and oregano. This blend offers a balanced combination of smoky, spicy, and savory notes. For a milder flavor, toss your chips in a little oil then coat them with dried parsley and dill—these herbs add freshness without sacrificing crispness. To add brightness, sprinkle lime zest or lemon pepper after baking; these tangy accents make the flavor pop. For those craving heat, incorporate cayenne or chipotle powder, adjustable to your preferred spice level, and consider balancing the heat with a pinch of brown sugar. These versatile seasonings let you customize your nacho chips from subtly seasoned to explosively spicy. Using a high-quality freezer helps preserve the crispness of any chips made in advance. For serving large batches at events, using a chafing dish with sterno keeps the chips warm and maintains their texture for extended periods. To ensure a consistent coating, you can apply seasonings with a fine-mesh sieve for even distribution, similar to dusting powdered sugar over funnel cake.
Store Homemade Nacho Chips to Keep Them Crunchy
To keep your homemade nacho chips crunchy after baking, ensure they cool completely before storing. Several hours at room temperature allow moisture to escape, preventing trapped steam that softens the chips. Never seal warm chips, as residual heat can create condensation inside the container, leading to sogginess.
Use airtight containers or resealable bags with the excess air pressed out; a tight seal is more important than the container material. Store the chips in a cool, dark, dry place such as a pantry or cupboard, away from heat sources like stoves or sinks. Humidity and heat are the main enemies of crispness and will quickly diminish it.
Keep chips separate from any moisture sources, including wet ingredients, sauces, or damp utensils. Layer the chips with paper towels inside the storage container to act as a moisture barrier. Label the container with the storage date and aim to eat the chips within a few days for optimal crunch, especially in humid climates. To prevent waste, use older chips first.