How to Make Sorbet Without an Ice Cream Machine: Simple Homemade Recipe
If you’ve ever wondered how to make smooth, refreshing sorbet at home without an ice cream machine, you’re not alone.
The good news is, you can whip up delicious sorbet using just a blender and your freezer.
With simple ingredients and a bit of prep, you’ll be able to create the perfect treat whenever you crave it.
Keep reading to learn how to master this easy method.
Why Make Sorbet at Home Without a Machine?
Since you don’t need a machine or special equipment, making sorbet at home is both inexpensive and straightforward. You have full control over the ingredients, allowing you to cut back on sugar, avoid preservatives, and easily create dairy-free or vegan options. Fresh fruit combinations like mango with lime or berry with mint let you experiment without adding extra cost.
Using basic pantry items instead of store-bought mixes saves money, and the process is quick enough to do anytime you crave a refreshing treat. For the best texture, transfer your sorbet to an airtight container and press plastic wrap directly onto the surface to prevent ice crystals from forming. This method helps avoid waste from large commercial tubs and results in a brighter, fresher dessert. Since there’s no machine involved, you can customize each batch’s sweetness and tartness to suit your mood, all while enjoying the convenience of homemade sorbet at your own pace. Unlike relying on bulky appliances, this simple approach shares the same hands-on control over ingredients that makes selecting the right tools, like a dedicated popcorn maker, a matter of personal preference rather than necessity.
What’s the Best Fruit for Homemade Sorbet?
Ripe fruit is the best choice for homemade sorbet, with mango, berries, and tropical varieties leading the pack. Mangoes, in particular, deliver natural sweetness and a soft flesh that blend easily into a smooth, creamy texture without added dairy. Raspberries and strawberries are reliable options, offering vivid color and bright acidity that prevent the sorbet from tasting flat. Watermelon and pineapple are excellent for lighter, more refreshing options because their high water content helps produce a smoother result. For those seeking a commercial-style finish, using a top ice cream mix can help replicate the consistency of professional soft serve. For a similar commercial approach, reviewing top popcorn machines can guide you to equipment that ensures evenly heated, consistent results for other snacks.
Fruits with soft flesh and high water content—such as peach, nectarine, or lychee—are ideal because they puree effortlessly without needing equipment. These fruits also contain pectin, which can help bolster body and texture. For those avoiding gluten, nachos made with these same fruits are naturally free of gluten-based additives. Avoid underripe or firm fruits like apples or raw pears, as they do not puree smoothly and tend to produce icy, undesirable chunks. The most important aspect is selecting the ripest, most flavorful fruit available; it ensures your sorbet will be bold, balanced, and naturally sweet without relying heavily on added sugar.
Simple Syrup vs. Frozen Fruit: Which Method Is Easier?
Frozen fruit is the easier method because it requires no cooking or cooling time. You simply blend the frozen fruit straight from the freezer, then add a little sweetener and citrus juice, and you’re ready to serve. There’s no need to wait for syrup to cool or clean a saucepan afterward. While simple syrup gives you more control over how sweet or smooth your sorbet turns out, it takes more time and creates additional dishes. With frozen fruit, you can quickly experiment with vibrant color combinations like mango-pineapple or mixed berries. For serving, you can scoop it right away for a soft-serve consistency or pop it back in the freezer for a firmer texture. Overall, if you value speed and minimal effort, using frozen fruit is the clear choice. Consistent results depend on using fruit that is fully frozen and adjusting the sweetener to your taste.
Essential Equipment You Already Have (No Machine Needed)
Most of the essential equipment you need for making sorbet is already in your kitchen, without requiring a machine. A food processor is ideal for turning frozen fruit into a smooth sorbet, but a blender can work as a substitute—just be mindful of heat buildup, which can loosen the texture. Your freezer and a shallow metal pan help speed up the freezing process for even results. A fork, whisk, or potato masher can assist in breaking down partially frozen mixtures to achieve the right consistency. For those seeking the best frozen treats, reviews comparable to Top Hawaiian Shaved Ice Maui Picks can offer guidance on quality and value. Specialized tools like a tamper or long-handled spoon can push fruit toward the blades, but always turn off the blender before using any utensil for safety reasons. To remove seeds or fiber, a fine-mesh sieve or cheesecloth works best. A spatula ensures you can scrape every last bit from the bowl. Start by mixing your fruit base in a bowl, then freeze it. You already have everything you need to make your own sorbet—no extra equipment required.
How to Make No-Machine Sorbet in 3 Steps
To make no-machine sorbet, follow three key steps. First, freeze the fruit until solid, which typically takes at least a few hours or overnight. Cutting your fruit into smaller pieces before freezing helps it freeze evenly and makes blending easier. For large batches, proper heat control during preparation prevents the fruit from thawing unevenly before blending. Second, blend the frozen fruit in short bursts, scraping down the sides frequently. This prevents overheating and ensures a smooth, creamy texture instead of icy chunks. Third, refreeze the blended mixture in a shallow pan, stirring every 30 to 45 minutes to break up ice crystals. Let the sorbet sit at room temperature for a few minutes before scooping to achieve a silky, scoopable consistency. Keep tasting and adjusting sweetness with simple syrup, honey, or citrus for balanced flavor before the final freeze. Using a simple syrup created from equal parts sugar and water is crucial for achieving a scoopable sorbet consistency rather than an icy block. Maintaining a consistent temperature throughout the process helps prevent ice crystals from forming too large.
The Food Processor Trick for Creamy, Scoopable Sorbet
Using a food processor is the best method for achieving a creamy, scoopable sorbet without an ice cream machine. Start with fully frozen fruit or a frozen base. Use short bursts of processing, stopping frequently to scrape down the sides of the bowl. This prevents the mixture from overheating and ensures even blending. To sweeten, dissolve sugar completely into simple syrup before adding it to the processor, which helps create a softer, less icy texture. Keep an eye on the mixture’s consistency; if it looks crumbly, add a small splash of juice or syrup to help the blades move smoothly. After the fruit has broken down, let the processor run a little longer to enhance creaminess. Once smooth, serve immediately for a soft texture or freeze for 1 to 3 hours to achieve a firmer, scoopable consistency. For a smoother sorbet, consider dipping the frozen fruit in a warm baking soda solution briefly before processing, as this technique is similar to the one used for achieving an authentic chewy crust in homemade soft pretzels. Adding a pinch of finely ground salt can mimic the flavor-enhancing effect of Flavacol, balancing the sweetness and reducing ice crystal formation.
3 Flavor Variations to Try Once You’ve Mastered the Basics
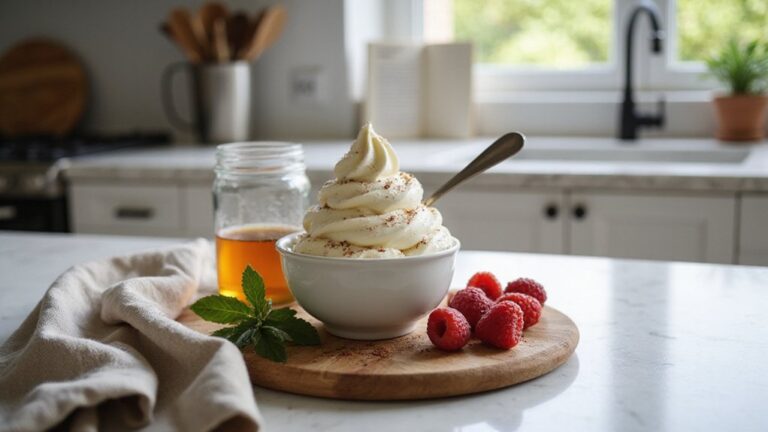
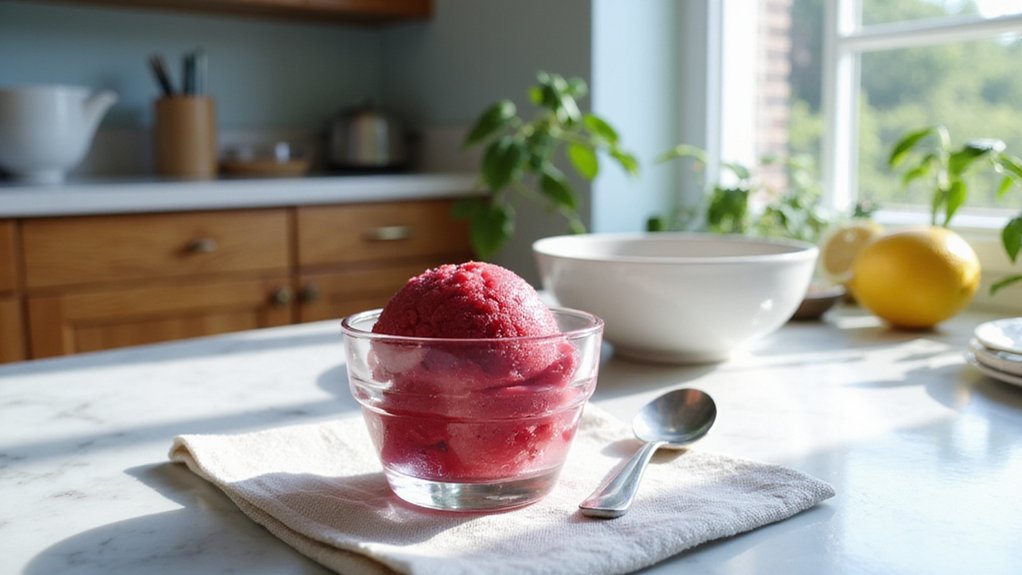
Once you’ve become comfortable with the basic sorbet method, experimenting with flavor variations can keep your creations exciting. Start with a classic berry sorbet by blending raspberries with a splash of lemon juice. The lemon adds a bright, tangy note that enhances the natural berry flavor. Adjust the fruit-to-sugar ratio to improve texture, especially since berry flavors tend to soften after freezing, so using more fruit relative to sugar helps maintain a firm consistency. However, if you want a richer result, you can incorporate a high-quality ice cream freezer to churn the sorbet more consistently. Notably, nachos contain significantly more sodium than a fruit-based sorbet, making sorbet a lighter snack alternative for those monitoring their salt intake.
Next, try a tropical mango sorbet. Since mangoes are naturally very sweet, you can reduce the added sugar, letting the fruit’s flavor shine. Incorporate fresh lime juice to introduce a hint of brightness that balances the sweetness. Its creamy texture pairs beautifully with lime’s acidity, creating a refreshing treat. Remember to taste as you go to avoid over-sweetening. For a different texture entirely, you could also experiment with using a cotton candy machine to create a spun-sugar garnish that melts into the sorbet.
Finally, craft a citrus sorbet such as lemon or grapefruit. These fruits are acidic, so you need less fruit to achieve a vibrant flavor. Add fresh herbs like mint or tarragon during blending for a fragrant, aromatic twist that elevates the citrus base. These herbal infusions offer a complex layer of flavor, making your sorbet more sophisticated and multi-dimensional.
Fix Icy, Rock-Hard, or Runny Sorbet
If your sorbet turns icy, rock-hard, or runny, here’s how to fix each issue. For an icy batch, re-blend it with a splash of corn syrup. The corn syrup’s anti-crystallization properties help smooth out the texture by preventing ice crystals from forming. If your sorbet is too tart and icy, add sugar syrup to suppress coarse crystals and improve mouthfeel. A rock-hard sorbet lacks enough freezing-point depressants; simply temper it at room temperature for a few minutes before serving to make scooping easier. For runny sorbet, over-thinning with additional juice or alcohol is likely the cause. Re-freeze in a shallow container to promote even firming. To prevent these problems, press plastic wrap directly onto the surface before freezing to limit crystal growth, and always chill your base thoroughly while balancing sugar solids against water. For a perfect texture, consider using a cheese warmer for nachos to maintain consistent serving temperatures.
How to Get the Sweet-Sour Balance Just Right
Adjust the sweet-sour balance by first calibrating your sugar levels based on the fruit type. For very tart fruits like lemons or rhubarb, aim for a total sugar content of 28 to 32 percent to mellow their acidity. Medium-acid strawberries typically need about 24 to 26 percent sugar, while low-acid fruits such as watermelon sit around 20 to 22 percent. Remember, the more acidic the fruit, the more sugar you’ll need to achieve a balanced flavor that’s not overly tangy. Achieving a perfect texture also requires avoiding overcooking the syrup, which can cause unwanted crystallization in the final sorbet. For reference, understanding the calories in hot dog buns can help you compare the energy density of this sorbet base to other common foods.
Check your base’s pH to fine-tune acidity. Aim for a pH range of 3.0 to 3.6. If the pH exceeds 3.8, add small amounts of citric acid to sharpen the flavor. If it drops below 3.3, buffer it with potassium citrate. Keep in mind that sweetness and acidity influence each other’s perception; a bright citrus sorbet, for example, benefits from enough sugar to mitigate sharpness but still retains a fresh, tart finish. For an alternative treat, consider using funnel cake mix to create a perfectly balanced dessert base.