How to Make Popcorn Kernels: Quick & Easy Method
Getting perfectly popped popcorn without a microwave can seem tricky, but with a simple stovetop method, you’re just minutes away from theater-quality results.
The key is to use the right oil and a quick test kernel to gauge when your oil is hot enough.
Once you master this technique, you’ll be able to make crisp, delicious popcorn anytime.
Keep reading for the full step-by-step process.
Pick the Right Pot and Oil First
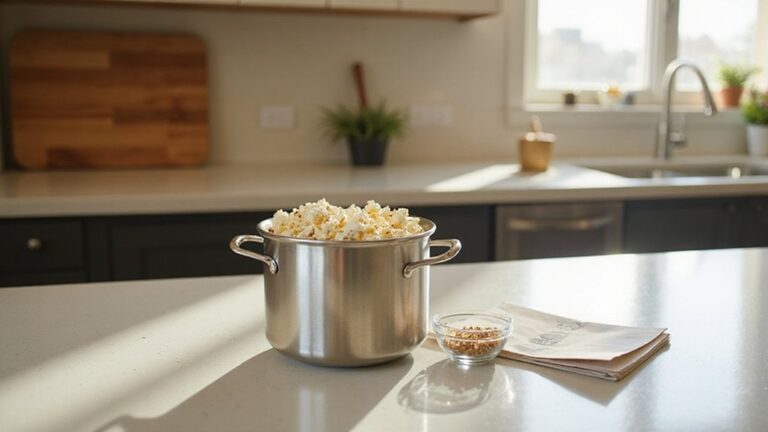
Choose a heavy-bottom pot with a lid, such as cast iron or thick-walled stainless steel. These materials distribute heat evenly, which prevents hot spots and burning. A heavy bottom ensures the kernels pop uniformly and reduces the risk of scorching.
Use an oil that can handle high temperatures—canola or refined coconut oil are good options since they tolerate 350 to 400°F without smoking. Avoid butter or extra virgin olive oil because they burn at lower temperatures before the kernels pop. Proper oil selection helps prevent burnt popcorn and ensures a better flavor. You can achieve a similar tropical taste by blending fruit syrups with coconut and cherry flavors, mimicking the classic snow cone recipe. For the most consistent results, consider using top popcorn picks that are specifically designed for popcorn makers.
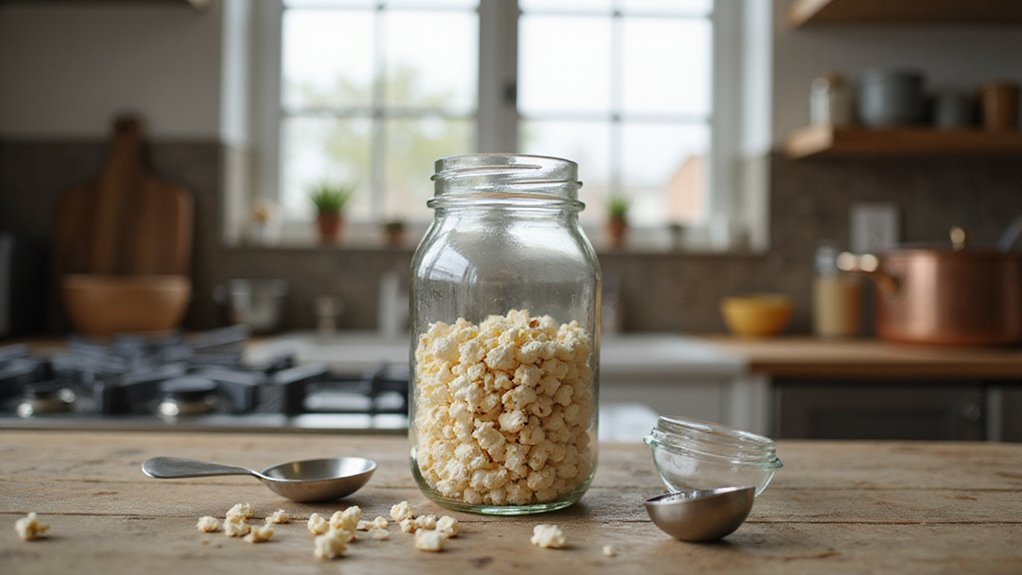
Store your popcorn kernels in a sealed container in a cool, dark place. This keeps them fresh and prevents them from becoming stale or losing moisture, which can affect popping quality. When seasoning, wait until after popping to add salt or spices; adding them beforehand can cause burning or uneven coating.
For larger batches, use a deep pot to prevent overflow as the popcorn expands. Using the right size of cookware and the appropriate oil ensures you get fluffy, evenly popped popcorn without mess or burning. Having the right gear and ingredients sets you up for perfect results. For the best results, choose premium popcorn kernels that are reviewed for high pop rates and consistent texture.
Why 3 Test Kernels Save Your Whole Batch
Using three test kernels saves your entire batch by providing an accurate, low-risk indicator of when the oil reaches the proper temperature. When the kernels pop, it signals that the oil is hot enough for the remaining kernels to expand rapidly, ensuring consistent popping without under- or over-heating. This small sample prevents the need to guess or rely solely on external heat indicators, which can be unreliable. The quick response of just three kernels allows you to adjust the heat promptly if needed, avoiding burnt popcorn or unpopped kernels. A similar principle applies when selecting any countertop appliance; for example, you can consult snow cone machine reviews to ensure you find the right fit for consistent results. However, when choosing your oil for this method, note that olive oil is not ideal for deep frying due to its low smoke point, which can cause bitterness and harmful compounds at high heat. This simple method protects your whole batch, boosting overall yield and ensuring uniform texture and flavor from the first kernel to the last. For those who value precise temperature control in their kitchen gadgets, a Cuisinart ice cream maker with a built-in compressor offers similar reliability by maintaining consistent freezing without manual intervention.
Pop Without Burning: Heat, Shake, and Vent
To achieve fluffy popcorn without burning the oil, focus on three key techniques: controlling heat, shaking the pot, and venting steam. First, set your stove to a medium-high temperature, aiming for between 180°C and 205°C. This range ensures kernels pop efficiently without scorching the oil or producing burnt flavors. Use a test kernel to check if your temperature is right—wait until it pops, then adjust as needed. For consistent results, balancing the ratio of sugar and water prevents crystallization and ensures a smooth slushie texture.
Next, shake the pot gently every 10 to 15 seconds during popping. The side-to-side motion helps distribute heat evenly across all kernels, preventing hot spots that can cause some pieces to burn while others remain unpopped. Be careful not to toss or vigorously shake the pot; gentle movement is enough to keep the heat balanced. For those using a commercial machine, avoid the common beginners mistake of ignoring the initial seasoning process for the popping plate.
Finally, manage steam by cracking the lid slightly near the end of popping. This allows trapped moisture to escape, keeping your popcorn crisp and not chewy. Direct the vented steam away from your face to avoid burns. For optimal storage of finished popcorn, consider a commercial freezer for ice cream that maintains consistent low temperatures. With these three steps—precise temperature, gentle shaking, and steam venting—you’ll get fluffy, perfectly popped popcorn every time.
The 2-Second Lid Gap That Keeps It Crisp
Cracking the lid open by just a few millimeters—about the width of a pencil—allows steam to escape instead of condensing back onto your popcorn. This small lid gap helps keep your popcorn crisp rather than turning chewy. A slightly tilted lid or a vented cover creates this gap, and the goal is moisture escape. If the lid is fully closed, trapped humidity turns the popcorn limp as the steam recondenses. Keep the gap small enough to hold heat but enough for visible steam to drift out. After popping, leave the lid ajar for another minute or two to let residual moisture dissipate and maintain that crunch. Remember, the key is to keep heat in, release moisture out. For best results, treat this lid gap like the controlled steam vent on an Icee machine, which requires a specific opening to prevent condensation from ruining the texture. For home Icee machines, a consistent slush temperature is critical to avoid the same moisture-related texture loss. This same principle of managing preventive airflow is why high-end freezers use consistent temperature zones to keep foods dry and fresh, avoiding the ice crystal damage that turns textures soggy.
Stop at the 2-Second Pop Rule: Then Season Hot
Stop popping the moment you hear a 2- to 3-second gap between pops—that’s your cue to pull the pot off the heat immediately. Wait for this interval instead of waiting for complete silence; residual heat continues to cook the kernels without risking scorching. This quick stop helps prevent bitter burnt notes, preserving the clean, fresh flavor you want for any seasoning or flavor pairing. For those who deep fry popcorn, a fine mesh strainer is essential for separating oil from kernels after cooking, ensuring a clean, finished product. Using a slush machine to make ice cream requires careful temperature control and exact measurements for consistent results, just as timing is crucial for perfect popcorn. Choosing your cone type affects the final snack experience, just as kernel selection impacts popcorn texture and flavor.
Once off the heat, season the hot popcorn right away. Warm popcorn retains surface moisture, allowing spices or flavorings to stick evenly without extra oil. Use fine seasonings—they coat the popcorn more uniformly on the steam film. Toss or shake the popcorn immediately so the flavors adhere before the batch cools and the steam escapes. Following this order—stop, remove, season—integrates kernel selection and seasoning into a seamless process, ensuring a crisp, flavorful batch every time.
Fix the 3 Most Common Stovetop Popcorn Mistakes
To avoid common stovetop popcorn mistakes, follow these key tips: Use medium heat instead of high. Medium allows steam to build up while preventing the oil from scorching, which can ruin the flavor. Avoid overcrowding the pot; stick to about 1/4 cup of kernels per batch to ensure even popping. Shake the pot every few seconds to keep all kernels in contact with the hot oil, preventing some from burning while others remain unpopped. Additionally, keep the pot lid slightly ajar to release steam, just as you would avoid steam pressure buildup when learning proper candy floss machine setup. For the best flavor, consider selecting a fine granulated sugar specifically designed for candy floss machines to achieve a consistent texture.
Start with a high smoke point oil like avocado or refined coconut oil, preheat it before adding the kernels, and choose a heavy-bottomed pot large enough for expansion. Keep the lid secure and shake gently but consistently during popping. After most kernels have popped, you can experiment with different oils for varied flavors. Add your preferred seasonings while the popcorn is still hot to enhance taste and ensure they stick well. For a classic movie theater flavor, consider using Flavacol seasoning which is a fine salt-based powder that evenly coats the popcorn.