How to Use a Whirley Pop: Complete Beginner Guide
If you want perfectly popped popcorn using a Whirley Pop, knowing how to season and care for the pan is your first step.
Properly heating and cleaning your popper prevents sticking and ensures your popcorn turns out just right.
Once you master these basics, you’ll be ready to pop batches that are fluffy, flavorful, and easy to make.
The full process is right below.
What You’ll Need for Your First Batch of Whirley Pop Popcorn
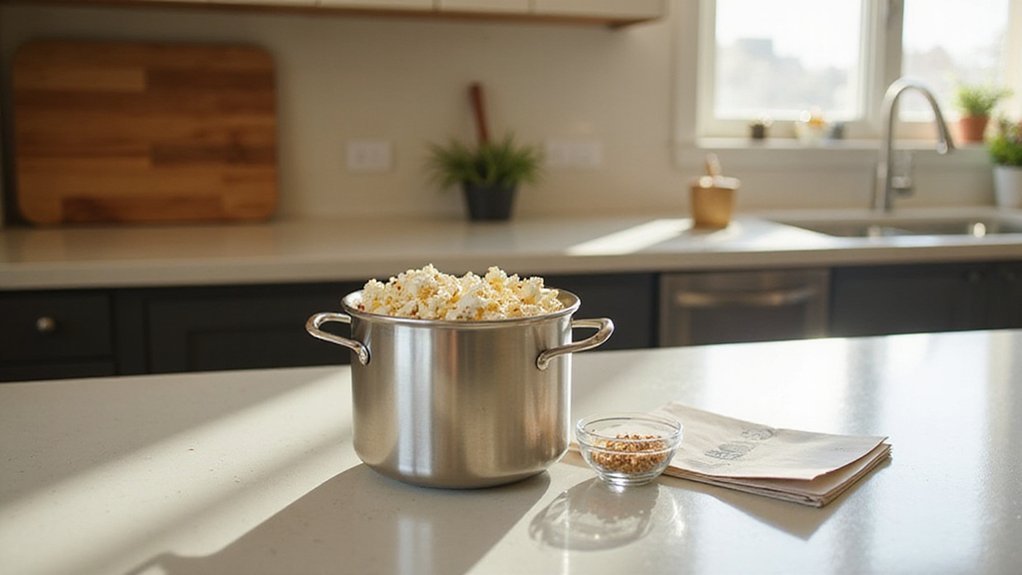
For your first batch of Whirley Pop popcorn, you’ll need 1/2 cup of fresh yellow popcorn kernels and 2 tablespoons of oil. The kernels are the core ingredient that will expand into fluffy popcorn, so measuring accurately ensures consistent results. The oil facilitates even heat transfer, which is essential for fully popped kernels and prevents burning. You can choose coconut oil for a classic movie-theater flavor or vegetable oil for a neutral taste. For the best results, refer to Top Popcorn Picks for your popcorn maker to ensure you’re using kernels that yield high-quality, fully popped batches.
Additionally, you’ll want a pinch of fine salt, like extra-fine sea salt or Flavacol, which adheres better to hot kernels and enhances flavor. Have a large bowl ready for dumping the popcorn once popped, along with a measuring set to keep your ingredients precise. Optional but recommended is melted butter for a richer finish. Make sure your workspace is heat-safe because the popper heats up quickly, and the entire popping process only takes a few minutes—so stay attentive and prepared.
How to Season and Prep a Brand-New Whirley Pop
To season and prep your new Whirley Pop, start by hand washing and thoroughly drying the pan. A clean, dry surface ensures the seasoning layer will adhere evenly. Add 1 tablespoon of vegetable oil to the pan, then tilt and roll it to coat the entire interior, including the bottom and sides. Heat the pan for about 20 seconds while rolling, but never leave it unattended during this step. Allow the pan to cool completely before wiping out any excess oil with a paper towel. This quick oil-and-heat method provides an effective initial seasoning without the need for a long cast-iron cure. Consistent ratios of oil to heat are key for achieving a smooth, even coating that prevents sticking, just as precise measurements ensure uniform results in a slushie machine. Understanding calorie counts for common snacks, like hot dog buns, helps put portion sizes into daily nutritional perspective. For best results, refer to expert reviews to compare which models offer the most durable non-stick surfaces.
To maintain your seasoned surface, always wash the pan gently by hand, avoiding soaking or harsh scrubbers. Keep moisture away and store it in a dry place to prevent rust or loss of slickness. If the interior feels less slick over time, repeat the same quick seasoning process—apply oil, heat briefly, and cool—to restore its non-stick surface. With proper prep and maintenance, your Whirley Pop will be ready for popping kernels at any moment.
The Right Way to Add Oil, Kernels, and Heat to Your Whirley Pop
To add oil, kernels, and heat effectively to your Whirley Pop, start by heating 2 to 3 tablespoons of high-smoke-point oil over medium-high heat until it shimmers or ripples. This ensures the oil is hot enough for popping without burning. Drop in one test kernel; when it pops, the oil is at the right temperature. Quickly add 1/3 to 1/2 cup of kernels in a single layer, making sure the oil just coats the bottom—don’t drown the kernels in oil. Immediately reduce the heat to medium to prevent scorching and to promote even heat distribution. For perfect Hawaiian shaved ice, the key is achieving the right texture through consistent technique. Steady cranking throughout the process keeps the kernels moving, helping them heat uniformly and preventing burnt batches. If the heat is too low, expect chewy popcorn; if too high, you’ll risk burning the kernels and oil. Always adjust the burner as needed while maintaining a consistent crank speed for the best results. For optimal quality and value, choose high-smoke-point oils that resist burning better than cheap alternatives, and consider complementing your setup with a popcorn machine with cart to streamline serving larger batches.
How to Crank, Listen, and Know When Your Whirley Pop Is Done
Once your popcorn has started popping, you’ll want to pay close attention to the sound. Stop cranking when the popping pattern slows dramatically to about one pop every few seconds. This indicates most kernels have finished popping and the batch is nearly ready. As you turn the crank, you’ll notice resistance increasing; this is a natural sign that the kernels are almost done, so don’t force it. If the crank feels hard to turn and resistance spikes sharply, it’s a sign to stop immediately. Remove the popper from heat once you feel the crank arm resistance increasing to avoid burning. Always keep a proper fire extinguisher nearby when using any heat source for food preparation.
Listen carefully throughout the process. When the popping drops to infrequent individual pops, typically one every couple of seconds, it’s time to remove the popper from heat. Waiting too long can lead to burnt popcorn, as the last kernels will finish popping from retained heat even after you stop cranking. Open the lid promptly once the popping slows to avoid overcooking. Your goal is to stop when you hear just a few lingering pops, which ensures fluffy, unburned popcorn every time.
Clean and Store Your Whirley Pop for Next Time
To keep your Whirley Pop in top condition for the next use, proper cleaning is essential. Always let the popper cool completely before starting the cleaning process. After each use, wipe out the interior with a paper towel if you’re using it frequently. For less frequent use, hand wash all parts with warm, soapy water and a grease-cutting detergent to remove any residue. Do not put the popper in the dishwasher, as the heat and detergents can damage the aluminum and moving parts.
For stubborn, stuck-on debris, soak the popper in hot, soapy water for several minutes. Then, use baking soda with a soft sponge to gently scrub away residue. Burn marks and discoloration are harmless and do not affect performance. After cleaning, dry all parts thoroughly—towel dry first, then prop the lid open to let it air out. Proper drying prevents rust and maintains the aluminum’s finish.
When storing your Whirley Pop, choose a cool, dry location away from humidity. Make sure it is fully dry before putting it away to prevent corrosion. Avoid stacking heavy objects on top and consider placing it in a storage bag or the original box for extra protection. Following these cleaning and storage tips will help ensure your Whirley Pop remains durable and cooks popcorn perfectly for years to come.