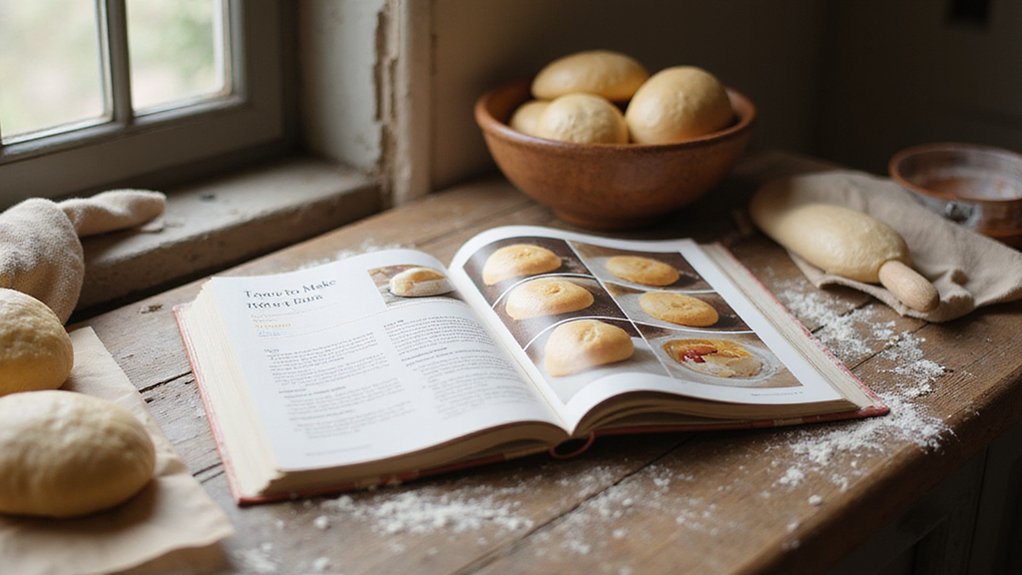
How to Make Hot Dog Buns: Easy Step-by-Step Recipe
If you’ve ever wondered why your hot dog buns turn out dense or dry, it all comes down to the dough. Achieving soft, fluffy buns is easier than you think when you understand the right techniques and ingredients to use.
By enriching your dough with milk, eggs, and butter, and following a simple shaping and proofing process, you’ll be able to bake perfect buns every time.
Keep reading for a step-by-step guide to mastering homemade hot dog buns.
The Secret to Soft Hot Dog Bun Dough
The key to soft, fluffy hot dog buns is in how you build the dough. Enrich it with milk, eggs, and butter to create tenderness and a moist crumb. Adding sugar isn’t just for sweetness—it also energizes the yeast and promotes a golden, appealing crust. For optimal flavor, think about how the bun’s buttery, soft character pairs perfectly with savory sausages. If you want to switch things up, you can substitute bread flour for all-purpose flour to add more structure, or incorporate a tangzhong starter for extra moisture and a softer texture. Keep your dough hydrated by adding enough liquid without overloading on flour. Warm liquids around 100°F help activate the yeast effectively. Be careful not to overbake your buns; it dries them out. Instead, brush them with butter immediately after baking for a plush, tender crust that remains soft and moist. Choosing the right ice cream cup can enhance the serving experience with a similar focus on texture and presentation. Unlike these buns, soft pretzels are unsafe for dogs due to high salt and yeast content. When selecting equipment for your kitchen, prioritize top picks that balance performance and cost to ensure consistent results.
How to Mix and Knead Hot Dog Bun Dough
To mix and knead hot dog bun dough effectively, start by combining your flour, yeast, sugar, and salt in a large bowl. Use a dough whisk or a spoon and keep the mixing simple; if you’re using a stand mixer, starting on low speed prevents flour from flying. Stir until the mixture is shaggy and rough yet holds together, scraping down the sides of the bowl as needed.
Next, knead the dough on a lightly floured surface or with a dough hook attachment. Kneading by hand takes about 5 to 10 minutes, while in a mixer, it usually takes 5 to 15 minutes. The dough is ready when it becomes smooth, elastic, and slightly tacky—avoid making it too wet or stiff. If the dough sticks excessively, add flour in small, one-Tablespoon increments, but resist the temptation to dry it out too much. Proper kneading will make the dough pull away from the bowl and feel soft and supple, not dense. Remember, the dough will feel sticky initially, but it will become easier to handle as you knead correctly. For a lighter texture, consider using top popcorn picks to inform your choice of flour-to-moisture balance. For a different baking challenge, keep in mind that safety considerations around churning temperature are critical when making frozen desserts like gelato. Additionally, reviewing the best machine for popcorn can help you achieve consistent results when preparing crunchy toppings for your buns.
Shape Your Hot Dog Buns
To shape your hot dog buns into the classic oblong form, start by dividing your dough into equal pieces—eight for standard size or four to six for larger buns. Using a scale ensures each piece is uniform, helping all buns bake evenly. Gather each piece into a ball, smoothing the top to create a neat exterior. This step is crucial; maintaining consistent dough tension prevents ragged seams later. Ensure the dough reaches proper texture before shaping, as specified in the recipe. A sugar cone’s lighter, crispier texture contrasts with the denser, chewier result of a waffle cone, similar to choosing between a waffle cone versus a denser baked good.
Next, roll each ball into a log approximately 4 ½ to 6 inches long. Use a rectangular-to-cylinder rolling motion: press down firmly and roll smoothly from one end to the other. Apply even pressure to generate surface tension, resulting in a uniform cylinder. When finished, pinch the seam closed and tuck the ends underneath to create the typical oblong shape. Place the buns seam-side down on a lined baking sheet, leaving space unless you prefer pull-apart buns. Lightly flatten the tops for a consistent profile.
When Are Your Hot Dog Buns Ready to Bake?
Your hot dog buns are ready to bake when the dough has nearly doubled in size, appearing puffy and fuller. The surface should look smooth, relaxed, and pillowy, with small bubbles visible beneath. Perform the poke test by gently pressing a finger into the dough—it should leave a slight indentation that slowly springs back. If it bounces back immediately, the dough needs more proofing; if it stays indented, it’s overproofed. The dough should feel light and airy, not heavy or dense, and should hold its shape well. Good gluten development creates elastic support, which helps the buns rise properly. Keep in mind that proofing time influences flavor development; a well-proofed dough develops deeper taste. Trust these visual and tactile cues over the clock to tell when your buns are ready for baking. Maintaining consistent freezer temperatures prevents the dough from overproofing during a pause in baking. For an extra flavor boost, consider pairing your buns with a rich cheese sauce that complements the bread. For perfect results, ensure your syrup mixture ratio is balanced to mimic the sweet, plush texture of a properly proofed bun.
Bake, Cool, and Store Hot Dog Buns
Once your dough passes the poke test and begins to develop its shape, it’s ready to be baked. Place the buns in an oven preheated to the recipe’s specified temperature, making sure to space them evenly to ensure uniform heat exposure. If your oven tends to bake unevenly, rotate the pan halfway through the baking time. Remove the buns once they achieve a consistent golden brown color to prevent them from drying out. Immediately transfer them to a wire cooling rack to prevent soggy bottoms. Allow the buns to cool completely, at least one to two hours, before storing. Check the underside for residual warmth—any trapped steam can make the buns soggy or moldy. Choosing quality and value when freezing baked goods prevents freezer burn and preserves texture. Keeping your equipment in top condition, such as using a top deep fryer cleaner for pristine results, ensures your kitchen tools remain effective and sanitary.