How to Use a Popcorn Maker: Easy Operating Guide
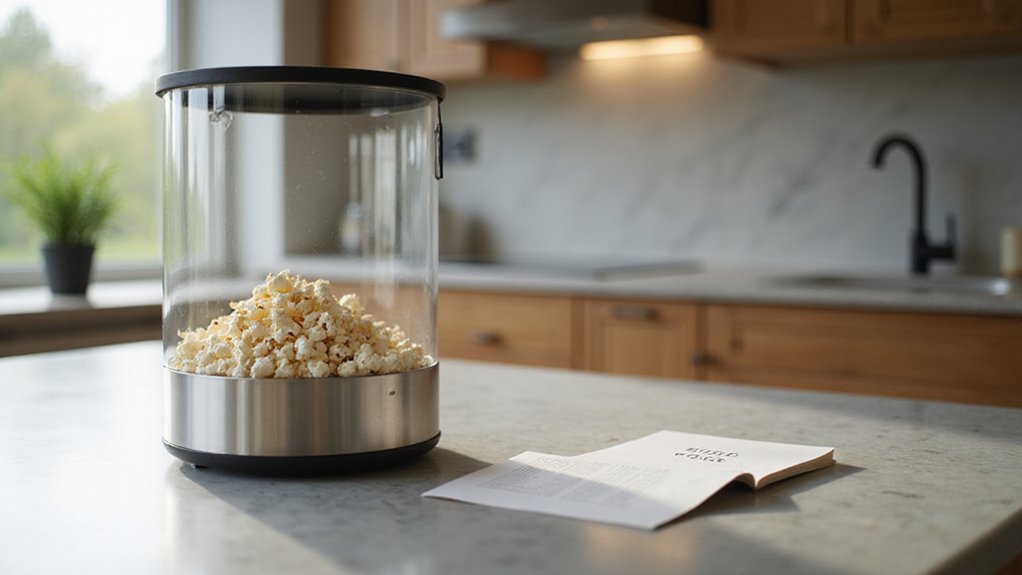
If you’ve ever wondered how to make perfect popcorn with a popcorn maker, you’re not alone. The key is understanding the right steps to ensure your popcorn pops just right every time.
From preheating to seasoning, I’ll walk you through the simple process so you can enjoy fresh, tasty popcorn effortlessly.
Keep reading for all the tips and tricks to master your popcorn maker.
Why Preheating Your Popcorn Maker Matters
Preheating your popcorn maker is essential for optimal results. Most manuals recommend waiting between 2 to 7 minutes, allowing the kettle to reach a stable popping temperature before adding kernels. This ensures more consistent popping and fewer unpopped kernels. When the kettle is properly preheated, heat is distributed evenly, so each popcorn gets the same intense heat for a perfect pop.
It also improves oil behavior. Warming the kettle first helps the oil spread and heat quickly, reaching the ideal popping temperature without scorching. This reduces the warm-up time and decreases stress on your machine. Additionally, preheating speeds up your first batch, so you can serve fresh popcorn faster. Always consult your popcorn maker’s manual for the exact preheating time, but never skip this step if you want the best popcorn. Using proper technique helps you avoid over- or under-cooking for a perfect snack every time. For a similar principle in beverage machines, achieving consistent results requires precise temperature control and proper ingredient measurements. Following a safe cleaning routine will also keep your machine running longer by preventing residue buildup on the kettle.
How to Measure Kernels and Oil for the Perfect Batch
To measure kernels and oil for a perfect batch, use a 1:4 oil-to-kernel volume ratio. For a standard home popcorn machine, 2 tablespoons of oil per ½ cup of kernels is a reliable starting point. Adjust the amounts based on your machine’s size: 4-ounce models typically need about ½ cup of kernels with ¼ cup of oil, while 8-ounce machines require approximately 1 cup of kernels with ⅓ cup of oil. Always fully coat the kernels without submerging them; this helps prevent unpopped kernels and ensures even coating. Neutral oils such as canola work best for consistency and flavor. Use a tablespoon to measure precisely — guesswork can lead to uneven distribution, affecting taste and greasiness. Before scaling up, small test batches with your chosen ratios help confirm your ideal measurement for consistent results. For a detailed comparison of the best brands for your machine, consult a top popcorn picks guide. For reference, a quick reference chart provides exact figures for these ratios. If you are considering reusing oil, note that reusing turkey fryer oil is generally unsafe due to degradation and potential health risks.
How to Load Kernels Into a Heated Kettle
To load kernels into a heated kettle properly, start by ensuring the kettle is thoroughly preheated. Never load kernels into a cold kettle, as this can lead to uneven popping and more unpopped kernels. First, add the oil, then immediately measure and pour in your kernels while keeping the motor running. This helps ensure the kernels heat evenly and prevents sticking or burning. This technique mirrors the principle of preheating your base before adding ingredients to achieve consistent results. While using canola oil for deep frying can be a safe and affordable choice due to its high smoke point, it is not recommended for optimal popcorn flavor. For best results, consider a premium funnel cake mix formulated for consistent texture and performance.
Use a test pop of three kernels if your machine recommends it; this confirms the temperature is right before adding the full batch. Stick to the recommended batch size for your specific model to prevent overflow and uneven popping. Overfilling causes kernels to eject or burn, reducing the popcorn quality. After loading the kernels and oil, close the lid immediately to retain heat and avoid kernels or oil from escaping. Keep the kettle upright and locked during popping to maintain safety and consistency.
Avoid adding butter or seasonings during this stage—only load oil and fresh kernels. Once everything is loaded, you’re ready to get the perfect pop.
How to Monitor and Stop the Popping Cycle
Once the popping slows to a pattern of about two to three seconds between each burst, it indicates the popcorn is nearly ready. Trust the sound of the pops as your main cue—don’t wait for complete silence. Visually, you’ll notice the kettle lid lifting slightly as the kernels expand and the bowl appears mostly filled with just a few unpopped kernels remaining. When you observe these signs, immediately stop the heat by switching off the kettle and motor. The residual heat will cause a few more kernels to pop, but continuing to cook risks burning the popcorn. Relying solely on timing is unreliable; listening for the popping pattern is your best indicator. If you detect a strong burnt smell, it means you left it on too long. The safest cutoff is when you hear a pop every two to three seconds. Note that unpopped kernels, similar to raw corn kernels, can pose a choking hazard for small pets, so discard them carefully. For a perfect snack pairing, consider serving your popcorn alongside a top dip for nacho chips reviewed online. For a savory twist, you could also finish the popped kernels with nutritional yeast seasonings to enhance the flavor.
How to Remove, Season, and Serve Your Popcorn
Once your popcorn stops popping and the popping slows to about one to two seconds between kernels, transfer it from the maker to a large bowl or paper bag immediately. This quick transfer helps retain its warmth and crispness. Give the popcorn a gentle shake to loosen any hulls that might be stuck or loose. Next, lightly coat the popcorn with oil or melted butter—just enough to make the surface slightly tacky. This step is crucial because it helps seasonings stick evenly to the popcorn.
Sprinkle your seasonings gradually while the popcorn is still warm. Toss gently to distribute the flavors evenly, layering in small amounts rather than dumping everything all at once. For optimal presentation, serve the popcorn promptly after seasoning. Add any final toppings like flaky salt or cheese powder just before serving to enhance flavor and texture. Keep the bowls uncovered briefly to prevent steam from trapping and softening the popcorn, which helps it stay crisp and aromatic.
How to Clean Your Popcorn Maker After Every Use
Before you start cleaning, turn off the popcorn maker and unplug it to eliminate any electrical risks. Let the machine cool completely—about 30 to 60 minutes—before touching any hot surfaces. Always empty leftover kernels and popped corn first. Timing your cool-down precisely prevents warping of internal components.
Your cleaning essentials are a damp cloth, warm soapy water, and a soft sponge. Wipe down all exterior plastic and metal surfaces after each use to prevent grease buildup. For glass panels, use a food-safe, non-ammonia cleaner.
Focus on removable parts like lids, covers, and butter melters. Wash these separately in warm, soapy water, then rinse and dry them thoroughly. Never submerge the base or motor housing. Avoid steel wool or abrasive pads—they can scratch nonstick surfaces. To prevent residue accumulation, gently wipe the heating element and head with a damp cloth. Reassemble only after all parts are completely dry. To enhance flavor, consider seasoning with the best salt for perfectly flavored popcorn after cleaning. This quick routine keeps your popcorn maker ready for the next batch.
How to Store Your Popcorn Maker for Longevity
Once your popcorn maker has completely cooled, store it properly to ensure it lasts for years. Choose a cool, dry spot away from humidity and direct sunlight to prevent rust or damage. Loosely coil the cord to avoid putting stress on the connections, reducing the risk of wear or breakage. Keep removable parts like kettles, trays, or lids separate in a designated container to prevent them from getting lost or broken. Cover the entire unit with a breathable cloth or its original box to keep out dust and debris. Before storing, make sure everything is clean and completely dry to prevent mold and corrosion. If storing for an extended period, unplug the machine and inspect it periodically for signs of moisture or damage to the cord. For large gatherings, chafing dishes with Sterno offer a similar reliable heat source for keeping food warm. Proper storage and maintenance will help your popcorn maker stay in top condition and ready for many more batches. For best results with gel fuel, remember that Sterno cans last up to two years when stored in a cool, dry environment away from direct sunlight. This storage method also helps avoid freezer burn which degrades food quality over time in cold environments.