How to Clean a Commercial Deep Fryer: Deep-Clean Instructions
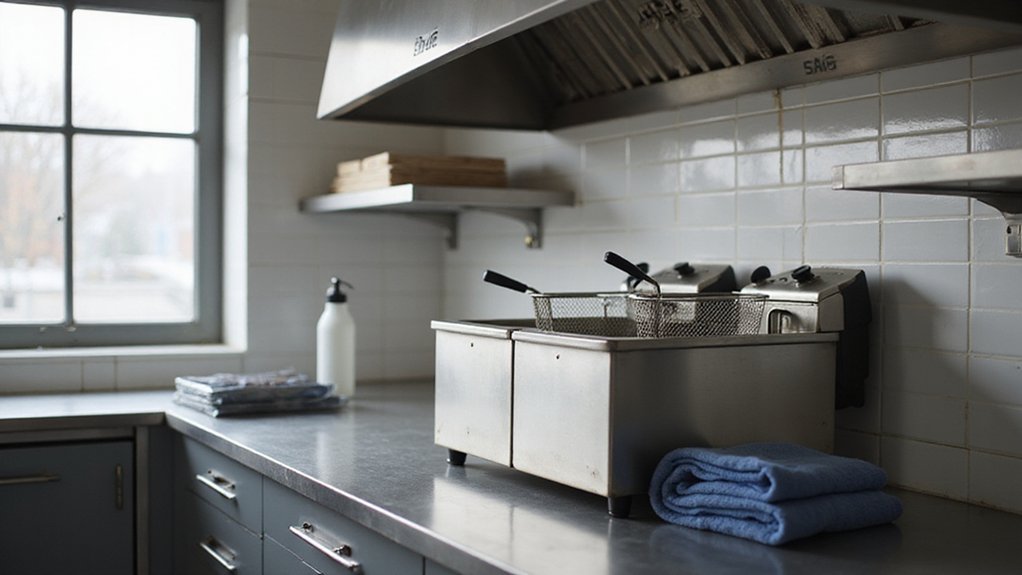
Cleaning a commercial deep fryer might seem daunting, but knowing the right steps can keep it running smoothly and safely. Proper deep-cleaning removes built-up grease and avoids foul odors or equipment issues.
In this guide, you’ll learn how to safely cool, drain, and soak parts, then thoroughly scrub and rinse your fryer for optimal performance. Keep reading for easy-to-follow instructions that will help you master this essential maintenance task.
Step 1: Shut Down Safely Before Deep-Cleaning
Before deep-cleaning your fryer, ensure it is completely shut down to prevent injuries and equipment damage. First, turn the thermostat to its lowest setting and flip the power switch off. If you have a gas fryer, shut off the gas supply; for electric models, disconnect the main power source. Always unplug the fryer from the wall outlet; this is a critical safety step that cannot be skipped. Allow the oil to cool completely, which typically takes about two hours, because hot oil remains a burn hazard. Clear the work area by removing contact points and safely storing baskets to avoid accidents during cleaning. Only proceed with deep-cleaning after confirming that the fryer is off, unplugged, and fully cooled down. Treat this shutdown process as a controlled sequence to ensure safety and consistency. For a similar step-by-step technique, consider how pretzel rod dipping requires careful preparation and cooling before presentation. Just as Velveeta should be melted at a gentle heat to prevent scorching, the fryer oil must be fully cooled to avoid burns during cleaning. Choosing the right popcorn for popcorn maker can also benefit from following a careful cooling and preparation sequence.
Step 2: Drain the Oil Right to Avoid Burns and Mess
Once the fryer is safely shut down and cooled, you must drain the oil properly to prevent burns and messes. Check the oil temperature with a probe thermometer—don’t drain it at cooking temperature, as hot oil splashes can cause severe burns. Wait until the oil cools below 40°C or roughly 120°F before opening the drain valve. Use a heat-resistant container with handles and a secure lid to ensure safety during transfer. Position the container directly beneath the drain and open the valve slowly to control splashes. If you are filtering the oil, drain it through a filter at this stage but avoid water contact to prevent violent eruptions. Always wear heat-resistant personal protective equipment, fill the container only halfway to minimize sloshing, and secure the lid before moving it. Transport the used oil promptly to an approved disposal location—never pour it down a drain. Similar to ensuring consistent slushie results from your machine, maintaining the correct oil temperature prevents dangerous splashing and burns during the draining process. Selecting a high-quality unit, like those reviewed in top pick ice cream freezers, helps maintain steady thermal control for safer oil handling.
Step 3: Strip Out Every Removable Part
Removing all removable parts is essential for thorough cleaning. Start by lifting out the fryer baskets, then remove the basket hangers, screens, racks, and guards. Be sure to also take out crumb-catching parts, filters, and any lid pieces. Wear protective gloves if parts are still warm to avoid injury. Keep all parts organized at your wash station to make reassembly easier later. Clean each piece separately using hot water and a degreasing solution for best results. Soak greasy baskets and filters to loosen stubborn residue, then gently scrub with a soft brush. For stubborn grime, applying a baking soda paste can help break down the buildup. Ensure any frozen food particles are removed from the parts before soaking, as they can trap grease. Before soaking, spray heavy-duty degreaser on all fryer parts to target grease buildup and wait about three minutes for it to break down the residue. Rinse everything thoroughly to remove soap and degreaser residue. Air-dry your parts or wipe them dry with a clean cloth, ensuring no moisture remains before reassembling. Always inspect parts for damage or wear and replace any worn or broken pieces to maintain safety and optimal performance. Just like frozen food, these parts must be kept in sanitary conditions to prevent contamination during cleaning. This thorough approach ensures your equipment remains as reliable as a classic concession staple for consistent performance.
Step 4: Boil Out the Tank for a Deep Scrub
To thoroughly clean the tank, fill it with water up to the recommended fill line and add a commercial boil-out cleaner according to the label’s dosage—low-foam options are preferred for safety and to minimize splashes. Close the drain valve and gradually heat the solution to about 200°F, maintaining a gentle boil for 15 to 30 minutes. Avoid leaving it unattended to prevent boil-over accidents.
While hot, use a long-handled fryer brush to scrub the interior walls, base, and heating tubes, paying special attention to corners and seams where grease tends to accumulate. The combination of mechanical scrubbing and the chemical cleaner helps loosen heavy carbon deposits efficiently.
Once the boiling time is complete, turn off the heat and allow the solution to cool before safely draining it. Rinse the tank at least twice with clean water to remove any residual cleaner. To neutralize odors and residues, give it a quick rinse with a vinegar-water solution. Make sure to thoroughly dry the inside of the tank before refilling, as water mixed with oil can cause violent foaming.
Step 5: Scrub Carbon Buildup Without the Grunt Work
Scrubbing carbon buildup becomes much easier once the boiler-out process has softened the grease and carbonized residue. While the tank is still warm, use a long-handled fryer brush to clean the interior walls, base, and heating elements. Focusing on areas with the most buildup, such as corners, seams, and around the drain valve, will ensure thorough cleaning. For stubborn carbon deposits, apply a commercial fryer cleaner at the recommended dilution and let it sit for two hours or overnight. Using a non-caustic fryer cleaning powder like Stera Sheen Red Label prevents damage to fryer components while breaking down tough residues. This dwell time allows the cleaner to break down hardened residue effectively. Just as with a cotton candy machine, cleaning when surfaces are only slightly warm makes residue removal far easier and safer for the equipment. This process mirrors the principle of using heat and moisture to loosen stubborn residues, similar to how steam from microwave popcorn softens kernels for even cooking.
After the cleaner has done its work, use a soft-bristle brush or a non-abrasive sponge to gently scrub away loosened debris. Start by removing loose debris first, then target any remaining bonded carbon. Patience is key—spending extra time on these scrubbing cycles is more effective than exerting extra effort with brute force. Finish by ensuring all visible film is removed but avoid rinsing until you are confident that all residue and cleaner have been thoroughly cleared.
Step 6: Rinse and Dry After the Deep-Clean
After completing the deep-clean scrub, it’s essential to rinse all interior surfaces of the fryer thoroughly with clean water. Use hot water multiple times to flush away any traces of cleaning solution, degreaser, or vinegar, ensuring no soap film remains. Be sure to rinse everything—including the baskets, skimmers, and removable parts—so they are free of any residue. This thorough rinse also prevents any leftover chemical taste from affecting your next batch of food, much like using a popcorn seasoning requires a clean surface for even coating. For example, ensuring no salt or oil residue remains on a clean surface helps maximize the flavor profile of your ingredients.
Next, remove all standing water by fully draining the vat and tilting components to prevent pooling in corners or seams. Check the drain valves for trapped liquid and wipe up any puddles with towels, taking care to keep moisture away from controls. This step helps prevent rust and keeps your fryer safe to handle later.
Finally, dry everything completely. Wipe all interior surfaces with paper towels, then allow the fryer to air-dry. Make sure to dry baskets and parts separately before reinstalling them. Avoid refilling with oil until every surface is moisture-free, since residual water can cause dangerous splattering and accelerate oil breakdown. Properly drying your fryer ensures a safer startup and improves oil quality, making thorough drying an essential part of your cleaning routine.
Tools and Cleaning Solutions You’ll Need
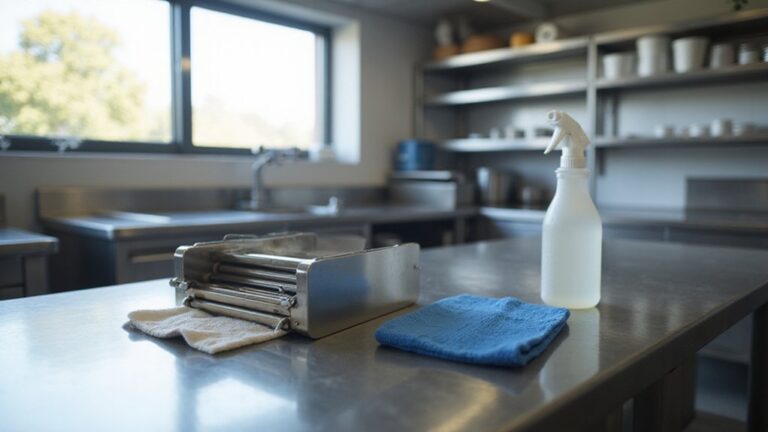
Having the right tools and cleaning solutions ready before you start ensures an efficient and safe deep-cleaning session. Equip yourself with heat-proof gloves, protective eyewear, an apron, and slip-resistant footwear for safety. For scrubbing, use long-handled brushes, synthetic pads, clean-out rods, and a crumb scoop. A low-foam boil-out cleaner is ideal for the tank, while a clinging degreaser works best on exterior surfaces.
To maintain good airflow, keep your vents and hoods clear by applying heavy-duty alkaline degreasers. Organize your supplies with a dedicated rinse water pail, cloths for wiping, and an oil pan drum for waste disposal. Have fresh water on hand for mixing and rinsing. Being prepared with all these items beforehand allows you to work smoothly without unnecessary delays.
How Often to Deep-Clean Based on Fryer Use
The frequency of deep cleaning your fryer depends on how often you use it. For high-volume kitchens that fry constantly, a weekly boil-out is necessary, with some operations doing it twice a week to ensure safety and optimal performance. In contrast, standard restaurant use typically requires a thorough deep clean once every week. Lighter-use operations can extend this interval to biweekly or even monthly cleaning sessions.
Your cleaning schedule should also be guided by the type of food you prepare and how you manage your oil. Residue buildup is more rapid when frying breaded items, so those kitchens may need more frequent cleanings. Observe the oil’s appearance—darkening oil or visible buildup signals it’s time to clean sooner. While daily filtering and wiping down the fryer helps maintain cleanliness, they do not replace the need for regular, deeper boil-outs. Always refer to your fryer’s manual and adjust your cleaning routine based on your specific usage patterns.
Deep-Cleaning Mistakes That Ruin Fryer Performance
Avoid common deep-cleaning mistakes because they can severely impact your fryer’s performance. Always let the fryer cool completely before cleaning; cleaning a hot fryer can stir up sediment and clog the drain valve. Never pour water into hot oil, as this causes a violent and dangerous reaction. Make sure to unplug the fryer before cleaning to protect electrical components from moisture. Selecting the right model from the start, such as a top popcorn machine, can simplify maintenance by reducing heavy grease buildup. For best results when working with frozen products, always follow proper reheating timing and temperature guidelines to ensure even warmth without scorching.
Dry every surface thoroughly after washing. Trapped water can create steam and splattering when refilling with oil, leading to safety hazards and equipment damage. Rushing the drying process or skipping it altogether worsens cleaning results and shortens your fryer’s lifespan. Never use abrasive cleaners or steel wool, as they scratch and damage the finish, making the surface more susceptible to corrosion.
Perform a boil-out regularly to remove polymerized grease buildup that can affect taste and operation. Rinsing thoroughly after cleaning is essential to eliminate residual cleaning agents and debris. Neglecting to repair small issues like leaking valves can escalate into major failures, increasing repair costs. Always filter your oil and remove sediment from the cold zone to prevent off-flavors and reduce fire hazards. For the best-tasting results, consider using a butter flavor coconut oil that resists burning and enhances popcorn flavor without leaving a greasy residue.
Troubleshooting: What to Do If Oil Splatters After Deep-Cleaning
Oil splattering after deep-cleaning usually indicates moisture or improper assembly. To address this, turn off the heat immediately to lower the oil temperature and prevent injury. Residual water trapped in corners, seams, or around heating elements turns to steam when the fryer heats up, forcing hot oil outward. Ensure all components, including the frypot and baskets, are thoroughly dried before refilling with oil. Using a splash guard can help contain minor splatters and prevent burns during initial heating. Check for any soap residue from cleaning solutions; rinse and wipe every part with a clean damp cloth to remove any soap film. Verify the oil level matches the fryer’s markings; overfilling increases the risk of splatter during operation. Also, inspect all parts after reassembly to confirm they’re seated properly—loose components can trap liquids that lead to splattering. If splattering persists, allow the fryer to cool completely and repeat the drying process. For similar moisture-related oil splatter at lower temperatures, consider whether avocado oil would be a safer alternative for popping popcorn due to its high smoke point. Incorporate a strict rinse-and-dry routine into your cleaning schedule to prevent future issues and help maintain a stable oil temperature. Paying attention to proper cooking time can also prevent overheating and uneven popping, which reduces the risk of oil splatter.