How to Shape Hot Dog Buns: Easy How-To Instructions
If you’ve ever struggled to shape hot dog buns that look neat and bake evenly, you’re not alone. The secret is in how you portion and roll the dough to get that perfect, tightly formed bun.
With a few simple steps, you can create buns that are uniform in size and have a professional finish. The instructions below will guide you through the entire process for consistent, bakery-quality results.
Start With Even Dough Portions for Perfect Hot Dog Buns
To ensure your hot dog buns bake evenly, start by weighing your entire dough batch before dividing it. Aim for 60 to 80 grams per bun for standard sizes or up to 100 grams for a bakery-style look. Divide the total weight by the number of buns you plan to make—whether that’s 8, 10, 12, or 18 portions—so each piece hits your target weight precisely. Use a bench scraper to cut the dough into equal portions instead of eyeballing or grabbing handfuls. Consistent dough handling helps each bun proof and bake uniformly. For a perfectly complementary snack, consider pairing your buns with kernels popped in a top popcorn machine. A model with consistent performance ensures even heating for reliable results every time. Reviewing top popcorn picks can help you choose a machine that delivers consistent results.
Cover the remaining dough while shaping to prevent a skin from forming, which can make it harder to shape smoothly. Weigh each piece if necessary—uneven portions can lead to color and size inconsistencies. Align your portion weight with your intended final bun size for the most even results. Accurate portioning makes all the difference in achieving perfectly uniform hot dog buns.
How to Pre-Shape Hot Dog Bun Dough Into Smooth Balls
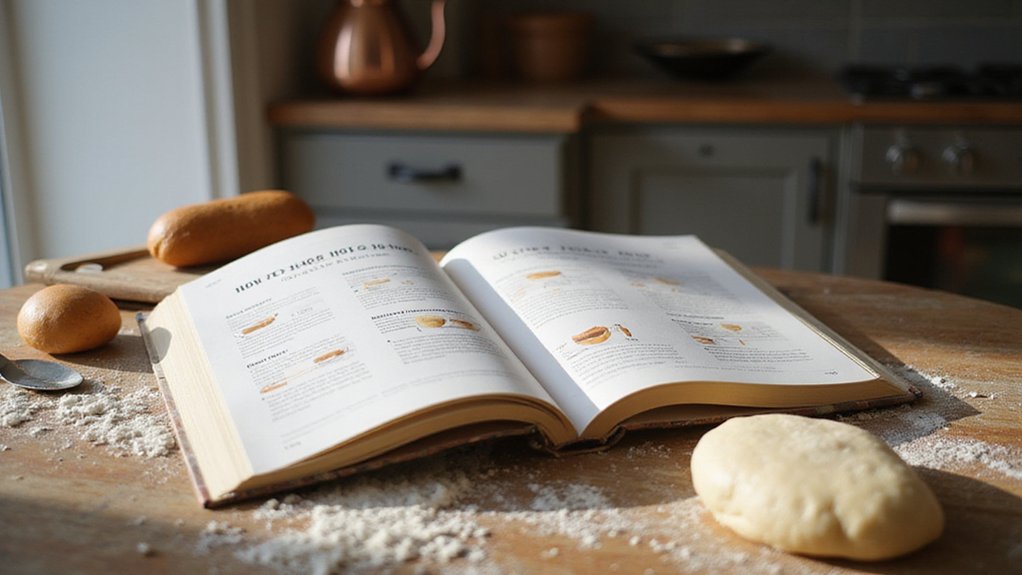
To pre-shape hot dog bun dough into smooth balls, start by dividing your dough into even portions. Gather each piece into a loose, round shape with a gentle touch to prevent tearing. Avoid tightening or sealing the skin at this stage; keep the dough relaxed. Adjust the surface flour based on your dough’s hydration level—wetter doughs require a bit more flour to reduce stickiness, while lower hydration doughs need less, depending on your flour type. This initial shaping is critical for uniform baking and rising.
Next, create surface tension by tucking the edges of the dough underneath as you rotate it. Use a shallow angle with your bench knife for better control. Then, cup your hands and gently roll the dough in circles. Focus on smoothing out wrinkles without pressing down too hard, ensuring the top remains smooth and the seam stays hidden on the bottom. Achieving a consistent batter-like texture during pre-shaping can help avoid cracks, much like ensuring a smooth consistency in funnel cake batter prevents holes in the final fry. Once shaped, cover the pre-formed balls and let them rest to allow the gluten to relax before final shaping.
How to Flatten and Roll a Tight Hot Dog Bun Log
To shape a tight hot dog bun log, start by gently flattening each pre-formed dough ball into a short rectangle or oblong shape. Keep the dough lightly floured to prevent sticking. Work with the dough’s natural elasticity; if it springs back, let it rest briefly. Use proper shaping techniques by rolling from a short edge, folding the dough over itself, and pressing to build surface tension. Maintain a firm but controlled motion to form a taut, chubby log about 4½ to 6 inches long. Be careful not to stretch it unevenly. After rolling, gently roll the log against your work surface to even the thickness, then lightly pat the top to create a flatter profile. Ensure the center and ends are balanced for uniform baking. Once the log is tight, avoid overworking it—just a final gentle roll will smooth seams without collapsing its structure. Uniform logs will proof evenly and result in a consistent final shape. This technique relies on the dough’s natural resistance to achieve a taut surface, similar to how a cooler dough extends fermentation time for better tension development. For additional dough control, lightly dusting the surface with flour after flattening mimics the way a brief rest allows gluten to relax for easier rolling. For those on restricted diets, note that traditional soft pretzels made from wheat flour are not gluten free, whereas alternatives using gluten-free flour blends can offer a safe option. Maintaining a consistent temperature and humidity in your proofing area is key to preventing the dough from drying out, much like temperature control ensures stable slushie texture.
Seal the Seam and Place Buns Seam-Side Down
Sealing the seam and placing the buns seam-side down ensures a stable, uniform shape during baking. After rolling the dough into a tight log, press the seam firmly along its entire length, pinching it closed from end to end. Don’t focus only on the center; the tips need reinforcement to prevent weak spots. Gently roll the log to smooth out the seam and press it together more securely. For a smooth final surface, ensure the dough log maintains even thickness throughout.
Next, place the buns with the seam side down on the baking pan. This positioning uses gravity to keep the seam closed and provides support during proofing. The pan contact helps maintain the buns’ shape and prevents the seam from opening. Keep the seam hidden underneath throughout the rising process to preserve dough tension and prevent blowouts. For similar consistency, you can apply the same principle of baking at a consistent temperature used when making tortilla chips. This method creates neat, evenly shaped buns and simplifies the shaping process. Once baked, remember that proper disposal of spent oil is essential for maintaining a clean kitchen environment.
Proofing and Baking Tricks for Soft Sides and Easy Splitting
To achieve soft sides and buns that split cleanly, focus on the proofing stage. Keep the dough in a warm environment around 75–80°F to ensure steady expansion. Covering the dough during proofing helps maintain humidity, preventing a dry skin that can restrict even rising and cause uneven splits. Underproofed dough will burst during oven spring, while overproofed dough may become flat and form weak splits. Once the dough has doubled in size and feels puffy, it’s ready to bake. Bake at 350–375°F, aiming for a light golden color to avoid a tough crust that resists splitting. Placing the buns close together during baking creates soft, pull-apart sides. Ensuring a relaxed, well-shaped surface helps produce clean splits. After baking, brushing the buns with butter keeps the crust tender and prevents it from drying out. Be careful not to overbake, as drier crusts are harder to split open neatly. For those avoiding dairy, be aware that many soft pretzels contain dairy additives, so check ingredient lists and use dairy-free butter alternatives for a similar tender result. Using the right ice cream cup can make a surprising difference for serving desserts alongside these buns. For a dairy-free option, waffle cones often contain dairy, so check labels carefully when serving alongside these buns. By following these steps, you’ll consistently produce soft, split-ready hot dog buns.