How to Use a Popcorn Machine: Setup & Use Tips
Ever wondered how to turn your popcorn machine into a perfect snack maker? Getting it right involves a few key steps to ensure even popping and great flavor.
From preparing the right ingredients to cleaning up afterward, mastering the process makes all the difference. Keep reading for clear, easy steps to help you get popcorn just how you like it.
Set Up Your Popcorn Machine on a Flat Surface
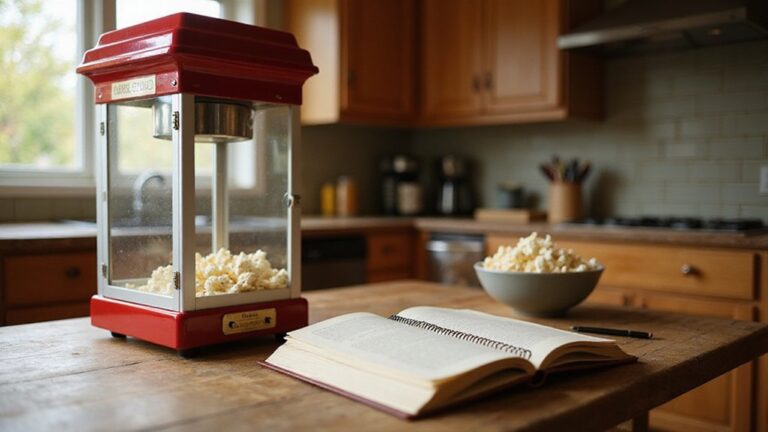
Your popcorn machine must be placed on a flat, level surface to operate safely and effectively. An uneven or wobbly spot can cause the unit to tip during heating, risking spills or damage. Ensure the area is dry and heat-resistant, providing a stable foundation that supports the entire weight without flexing. Check for any spills, debris, or obstructions that could block vents or switches. The surface should be solid enough to prevent vibration and misalignment during popping. Confirm the machine sits flush, then gently press on the sides to test steadiness. After any move, recheck the placement to ensure it remains stable, as even slight shifts can impact performance. Complete surface stability is essential before plugging in and starting your popcorn machine. Choosing a machine with consistent heating performance helps avoid uneven popping and freezer burn in stored kernels. For best results, you should choose the right kernels to match your air popper’s performance and your taste preferences. Additionally, pairing the correct kernel type with top seasoning options can significantly enhance your popcorn’s flavor.
Add Oil and Kernels in the Right Order
Add oil before the kernels. Pour in the amount appropriate for your batch size—an 8 oz machine typically needs about one-third cup of oil. Using a heat-tolerant oil like coconut or avocado helps maintain a consistent temperature and prevents scorching. For reference, the perfect ratio for most machines is 3 parts kernels to 1 part oil by volume.
Immediately after adding the oil, add your kernels. Do not preheat the kettle empty, as this can lead to uneven heating and poor popping. Starting with kernels in a hot, oiled kettle ensures even oil coverage and optimal heat transfer. Measure the kernels according to your machine’s specifications; overfilling can reduce popping quality. For best results, select premium popcorn varieties that are specifically rated for high-volume machines to avoid unpopped kernels. Following this order guarantees an efficient, mess-free popcorn batch. Once you are done, avoid pouring the used oil down the sink and instead follow safe disposal methods to keep your drains clear.
How to Start Popping and Know When to Stop
Once the kettle reaches the right temperature—usually indicated by a light or sound after about 5 to 8 minutes—add your corn-and-oil mixture promptly. Acting quickly ensures efficient popping, as delaying allows heat to escape and lowers the popping temperature. You’ll hear the first kernels pop within seconds, confirming the kettle is ready.
Your main cues for stopping are auditory. When the pops slow to two to three seconds apart, or even one to two seconds, it’s time to turn the machine off to prevent scorching. A long pause between pops indicates most kernels are finished, and continuing could burn the batch. Use the residual heat to finish popping any remaining kernels. Once popping stops altogether, turn off the heater and stirrer, then immediately dump the kettle to avoid scorching. Keep a close eye and listen for sporadic pops; never depend solely on timing. Following these cues helps keep your popcorn crisp and smoke-free.
Serve It Hot and Season Evenly
Serve the popcorn while it’s still steaming to preserve the best flavor and texture. Allow the steam to escape for a few seconds after popping to prevent sogginess. Hot kernels hold seasonings better than cooled ones, ensuring even flavor distribution. For consistent texture, follow the same principle used when making perfect slushies with your machine where ingredients are mixed in the proper order to avoid ice crystal imbalance. Referencing a saturated steam table helps confirm the ideal temperature for keeping popcorn warm without moisture buildup.
For even coverage, start with a light layer of melted butter or oil—just a quick mist or drizzle. Practice flavor layering: sprinkle a little seasoning, toss gently, then repeat. This method prevents clumping and salt hotspots, and avoids dumping all the seasoning at once.
Use seasoning tools like shakers or a covered bowl to distribute fine powders evenly. A large paper bag is also effective—you can add the popcorn and seasonings, then shake everything together. After each addition, toss or shake gently to promote uniform adherence without crushing the popcorn. For perfectly consistent results, apply the same principle of gradual, even coating as used when making homemade cotton candy without a machine, where adding sugar in small, repeated layers prevents clumping and ensures each strand is evenly coated.
Clean Your Popcorn Machine After Every Batch
To effectively clean your popcorn machine after each batch, start by unplugging it and allowing the kettle to cool completely. Wait at least 30 minutes, preferably an hour, to ensure all components are safe to handle. Never attempt to touch or clean hot parts, as this can cause burns or damage. Use a soft brush to scoop out leftover popcorn, unpopped kernels, and any debris from the tray, making sure to reach into corners without scratching surfaces. For a thorough clean, also brush the interior walls and lid to remove any clinging oil residue, just as you would wipe down the kettle after oil-free stove cooking to prevent buildup. If you use seasonings like Flavacol, check that they are gluten-free to avoid cross-contamination with other foods. This routine mimics the manual brushing method recommended for non-abrasive upkeep of the glass and heating elements. Gather your cleaning supplies: a damp cloth, mild dish soap, and warm water. Wipe down the kettle and interior surfaces carefully, avoiding submersion of the kettle to protect electrical parts. Refrain from using abrasive cleaners or oven cleaners that could damage the finish. If your machine has detachable trays or pans, wash these separately in soapy water, rinse thoroughly, and dry completely before reassembling. Regular cleaning prevents residue buildup, keeps flavors fresh, and helps maintain peak machine performance.